Connecting to QuickBooks
- Use the FLEET Manager Desktop Application to connect with QuickBooks.
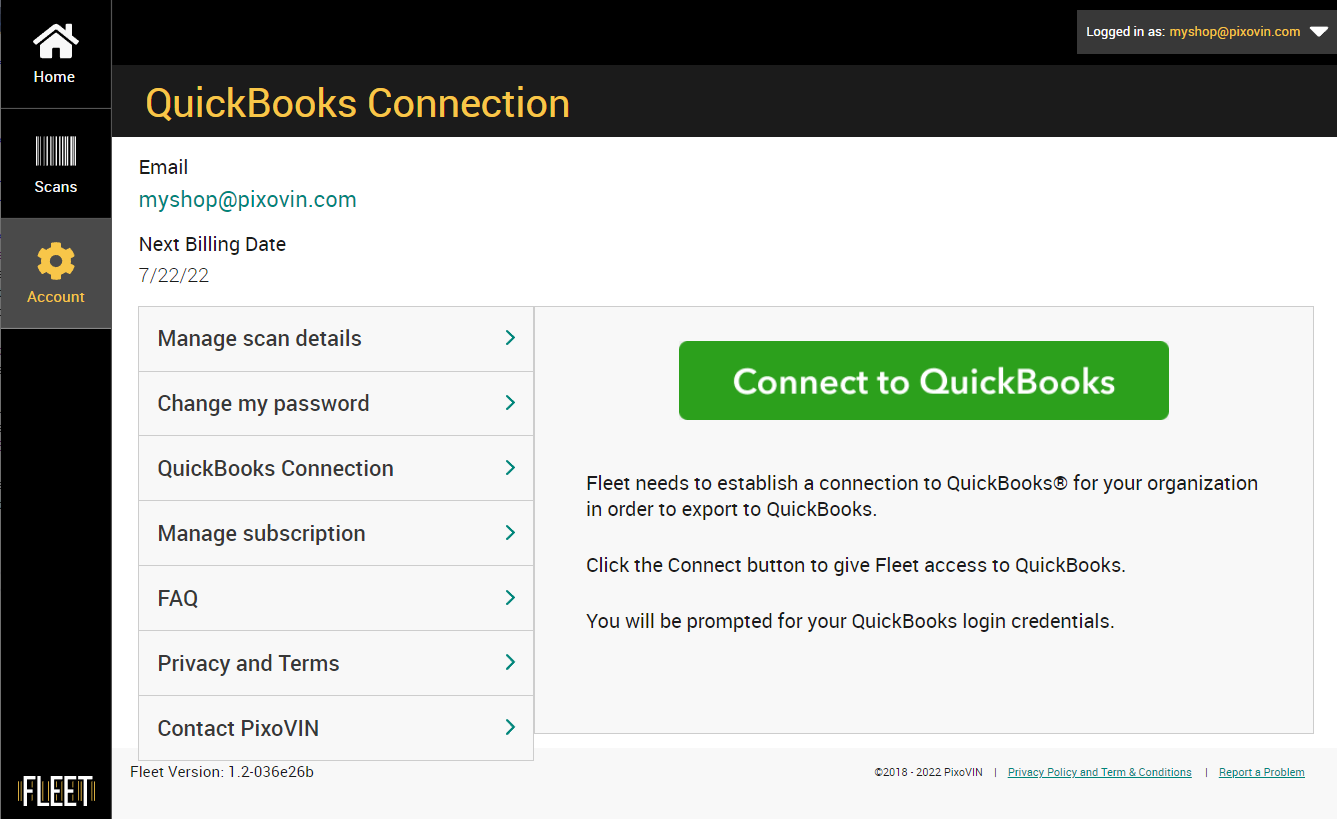
- In the Account section, select the “QuickBooks Connection” tab
-
Click “Connect to QuickBooks”.
-
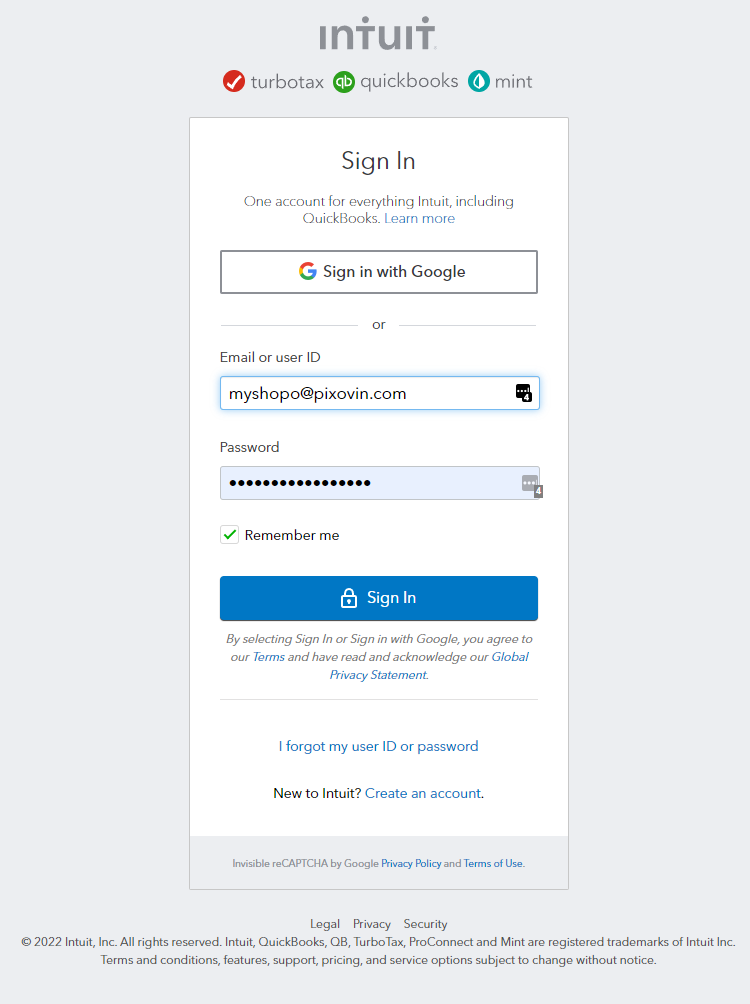
When prompted, enter your Intuit credentials.
-
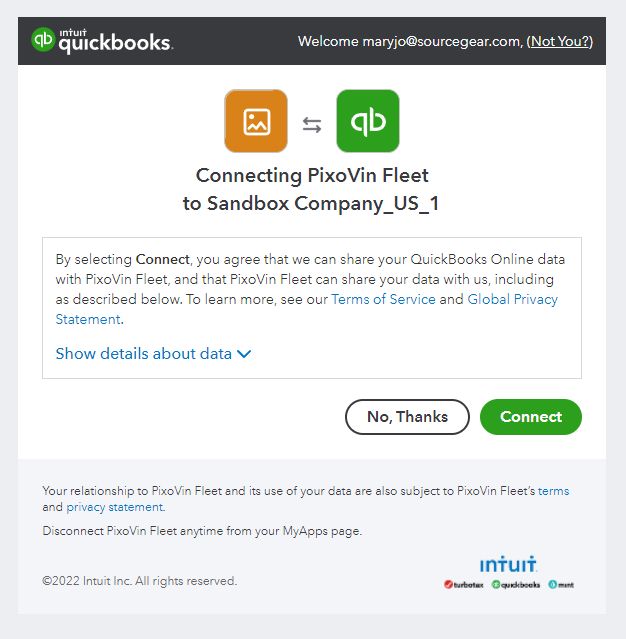
After signing in to Intuit, you’ll be prompted to authorize FLEET’s connection to QuickBooks by clicking “Connect”
Disconnecting from QuickBooks
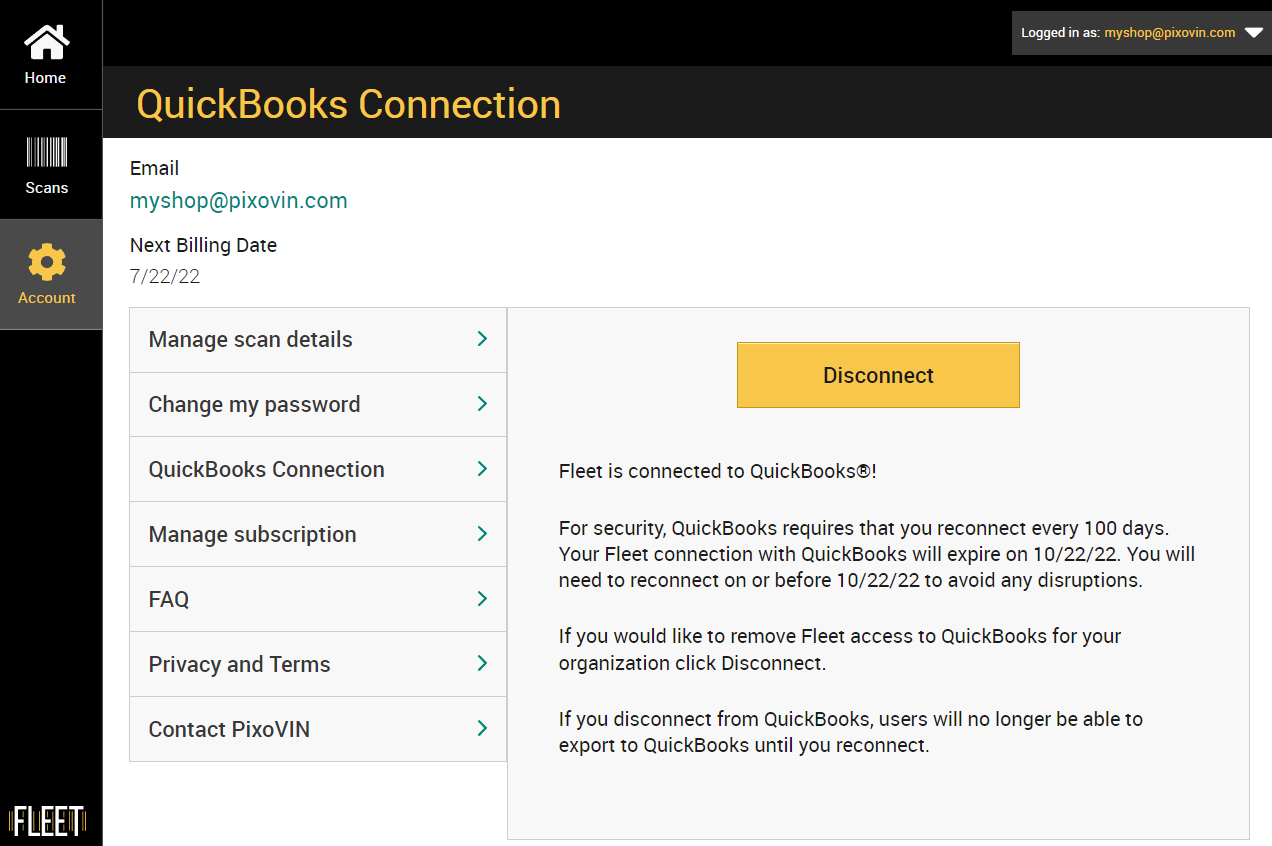
You can disconnect from QuickBooks at any time from the FLEET Manager Desktop Application.- In the Account section, select the “QuickBooks Connection” tab.
- Click “Disconnect”.
Configuring Customer and Service Fields
- Customer and Product/Service custom detail fields in FLEET are required to export to QuickBooks.
- These can be created or configured in the FLEET mobile or desktop app.
- The fields can have any title (Customer, Client, etc.) but will complete the Customer and Product/Service fields respectively on your QuickBooks invoices.
- Go to the Manage Scan Details page and click “Add Custom Detail”.
-
Set up your Customer field.
- Choose a title for your Customer field (Customer, Client, etc.).
-
Your Customer field can be either a text field (default) or a Quick Pick field.
- Choose the field type, and select the “QuickBooks Customer” option.
- If you choose a Quick Pick field, the names you enter under your Customer field in FLEET must match the Customer names in QuickBooks.
- These fields can be edited to match in FLEET or QuickBooks. If a Quick Pick option you’ve entered doesn’t match a QuickBooks Customer name, you’ll get an error when trying to export.

-
Set up your Service and/or Product fields.
-
Choose a title for your field (Service, Product, etc.).
- Select “Quick Multi Select” and “QuickBooks Product/Service”.
- The names under your Product/Service fields in FLEET must match the Product/Service names in QuickBooks.
- These fields can be edited to match in FLEET or QuickBooks. If the Product/Service options you’ve entered don’t match your Product/Service options in QuickBooks, you’ll get an error when trying to export to QuickBooks.

-
Choose a title for your field (Service, Product, etc.).
Exporting To QuickBooks
Exporting a Scan
You can export a single scan or multiple scans to QuickBooks.
- Customer and Service fields must be filled out in FLEET to be able to export a scan to QuickBooks.
- The names under your Customer field in FLEET must match the Customer names in QuickBooks. The names under your Service field in FLEET must match the Product/Service names in QuickBooks.
- These fields can be edited to match in FLEET or QuickBooks.
-
From the My Scans page, select the scans you want to export and click “Export”
 .
.

— or —
From the Vehicle details page, click the Export button.

-
From the Export page, select the details that should be listed on the invoice. These will be listed as a description for each service item on the QuickBooks invoice. Then click “Export”.
 The Customer and Product/Service fields in QuickBooks are required for invoicing (all other fields are optional).
 -
Choose the QuickBooks Invoice option to export.
The process can take some time depending on how many invoices are being created.

Viewing and Editing Invoices in QuickBooks
- FLEET will create an invoice in QuickBooks for each scan that’s exported.
- Information can be changed or added in QuickBooks after the invoice is created.
-
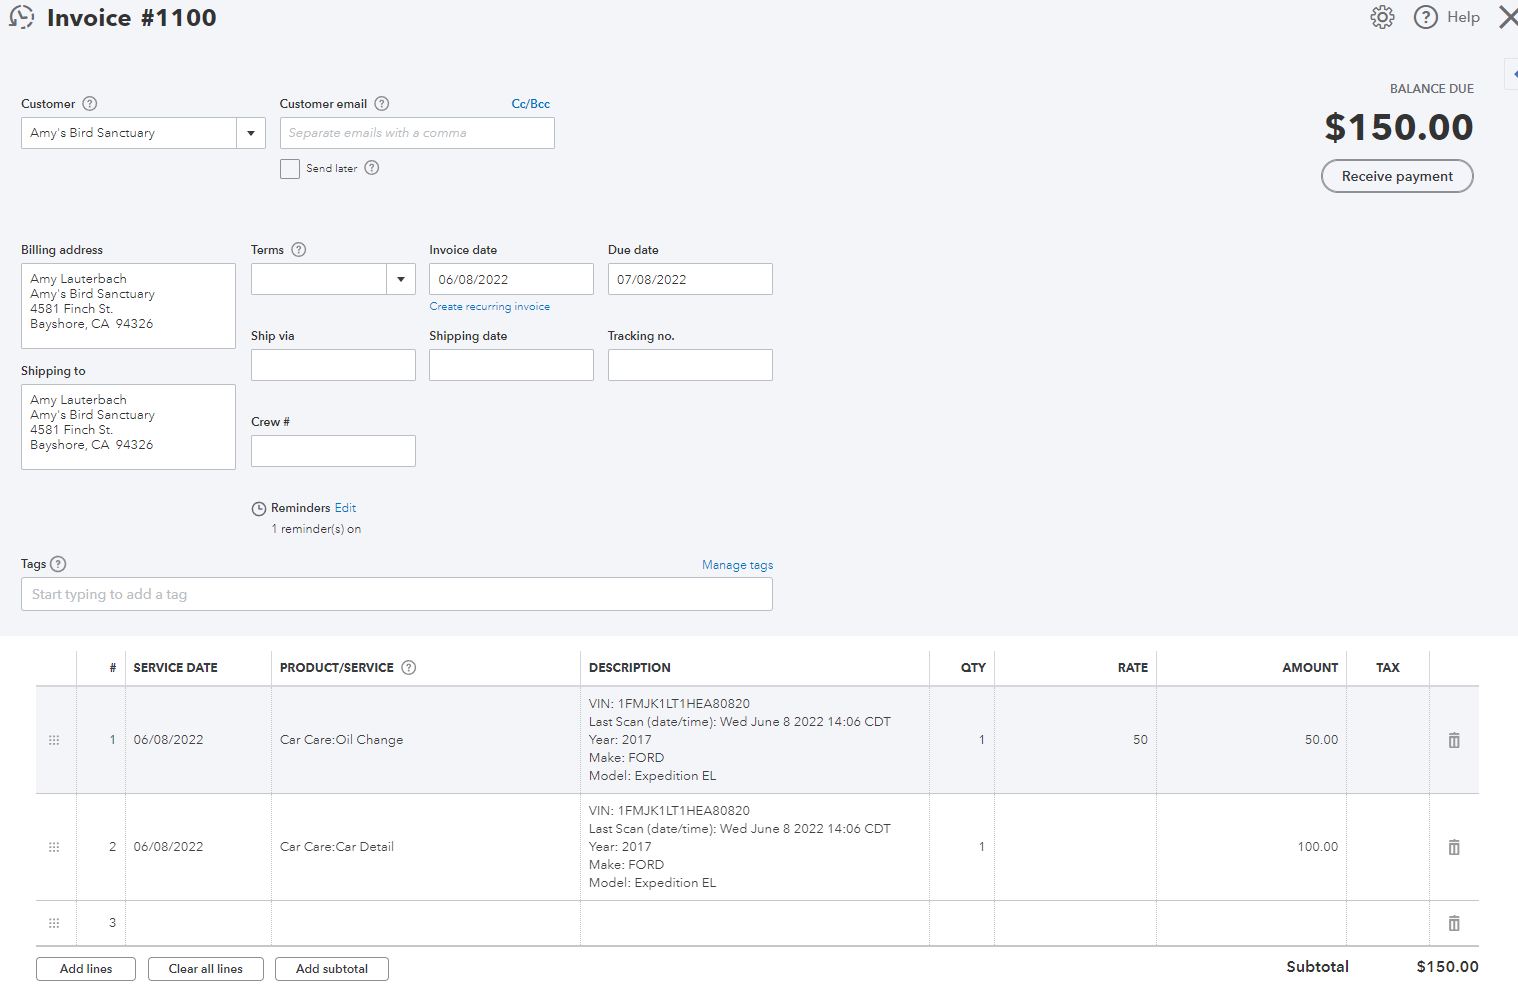
Information from FLEET will populate the following fields
- Customer – Pulled from your Customer field in FLEET. This field is required for exporting
- Service Date – Most recent Scan Date in FLEET.
- Product/Service – Pulled from your Service field in FLEET. This field is required for exporting.
- Description – Details from the My Scans page that were selected at export (VIN, year, etc.).
- Quantity – At this time, Quantity will always be 1.
- Amount – Amount is determined by QuickBooks based on the amount set for the Product/Service.
